Since you made you can fix it
Building the BrailleRAP
I came in Bali in 2025 for the Dinacon conference. During the event i handle a workshop with Les villagers to build a BrailleRAP XL. A wonderful workshop where we built a working device under coconut trees next to the beach.
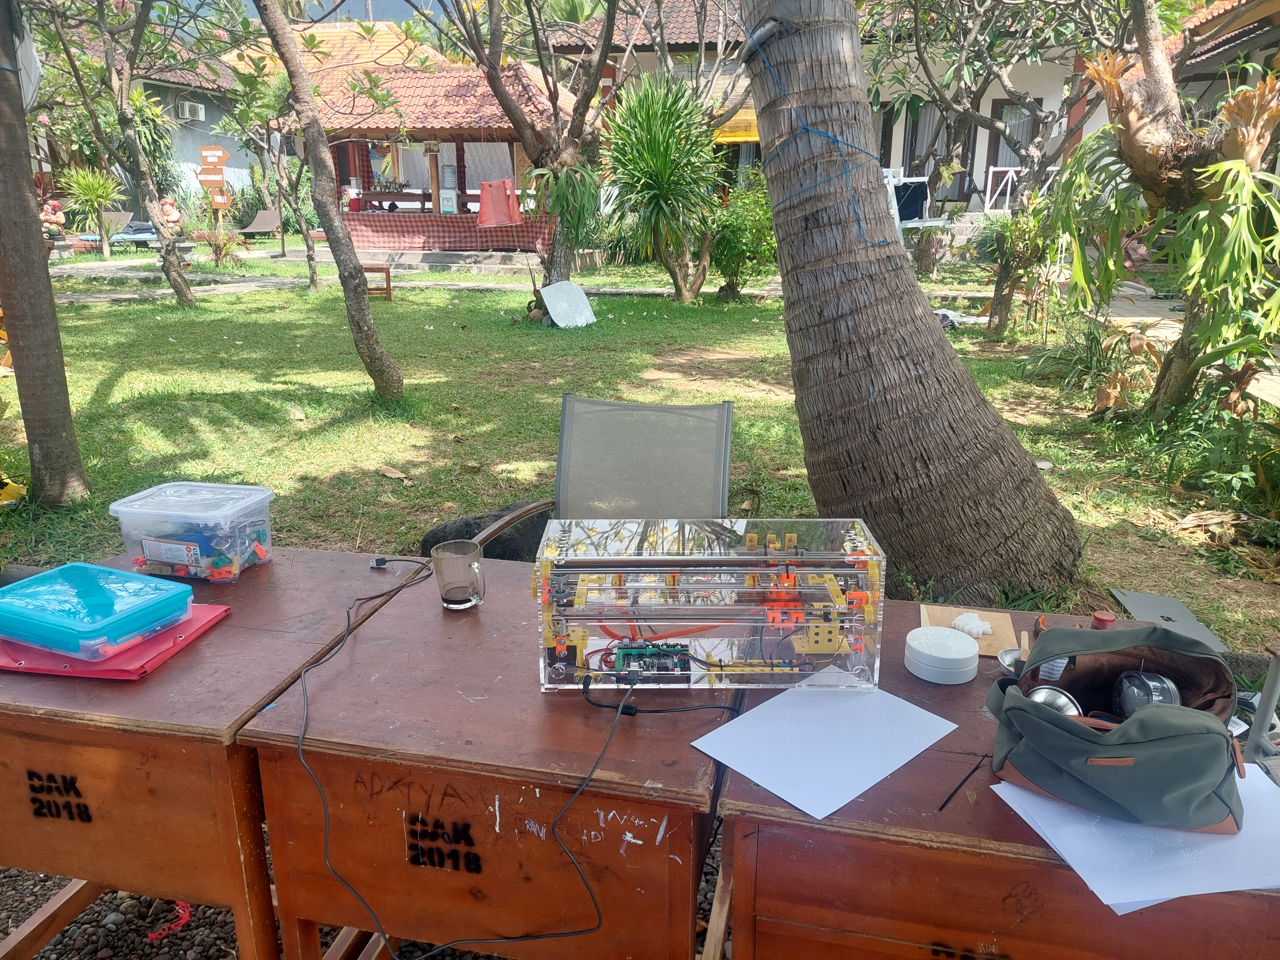
Infortunately, i changed the rail provider a few month before coming in Bali. On paper the rails where more precise (h-6) and the provider can cut the rails at size, a great proposal as cutting hardened steel rail is a time and energy consuming job, even with the right tools. After the workshop, the BrailleRAP worked well, and we enjoy some fun and more serious test with banana leafs, aluminium sheets... But with the sea proximity, the rail started to rust soon. Not a problem at the start, but 10 month later, rust start to accumulate and bushings stop to work nicely. The consequence is device hanging or motors losing steps, so the BrailleRAP stop to work reliably and precisely.
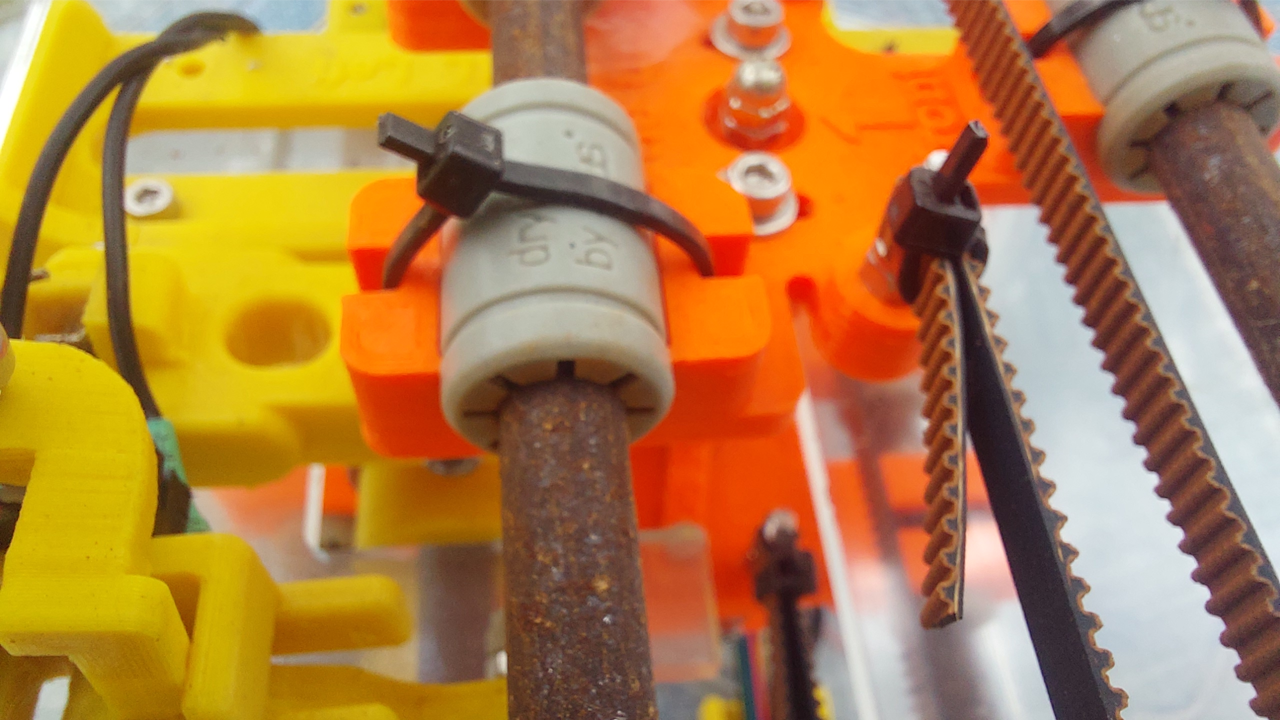
As i planned to travel to Asia for some visits and events, i decided to make another stop in Bali and try to fix the BrailleRAP. Changing the rails by some new one (with some more nickel and chrome plated) and also change the linear bushing that may have suffer traveling on rusted rails.
Strategy to replace the rails
Replacing the rails is almost the same operation as replacing a broken plastic part on one of the carriage or replacing the solenoid. For many maintenance operation, especially on the bottom part of the BrailleRAP, the good strategy is to remove the rails by the side to give you some space. To replace the rusted rail, you need to extract the rails, put new ones and tune the BrailleRAP again. In more detailed step, this means :
- Remove the top cover.
- Unscrew the rear door and remove it.
- Remove the left and right scroll wheel.
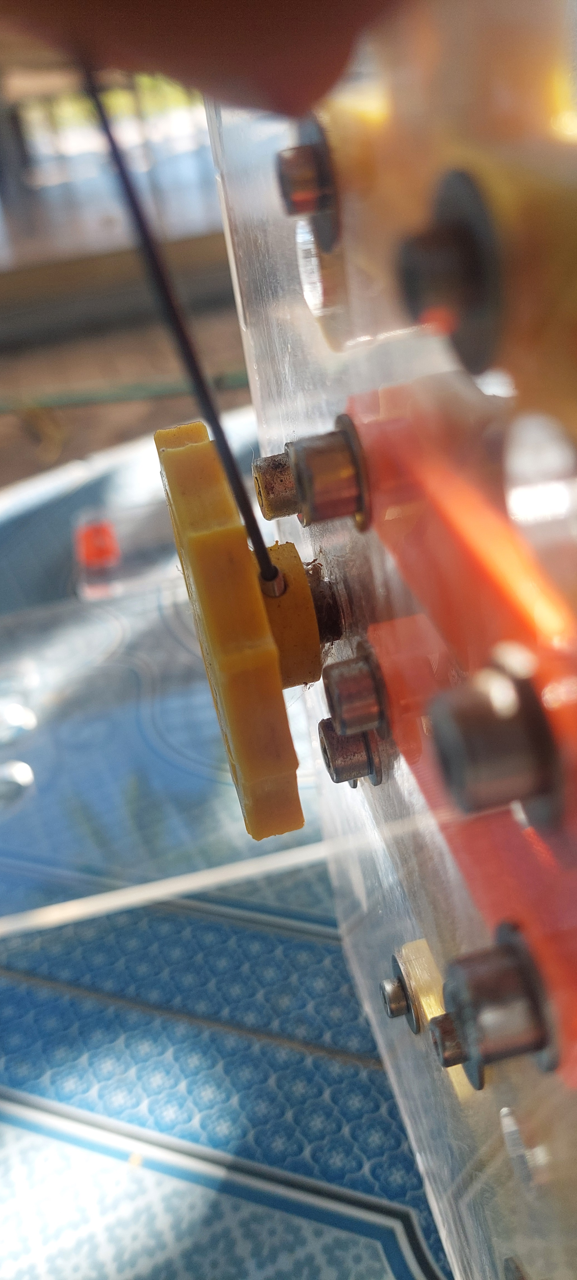
- Loose the belt of the top carriage.
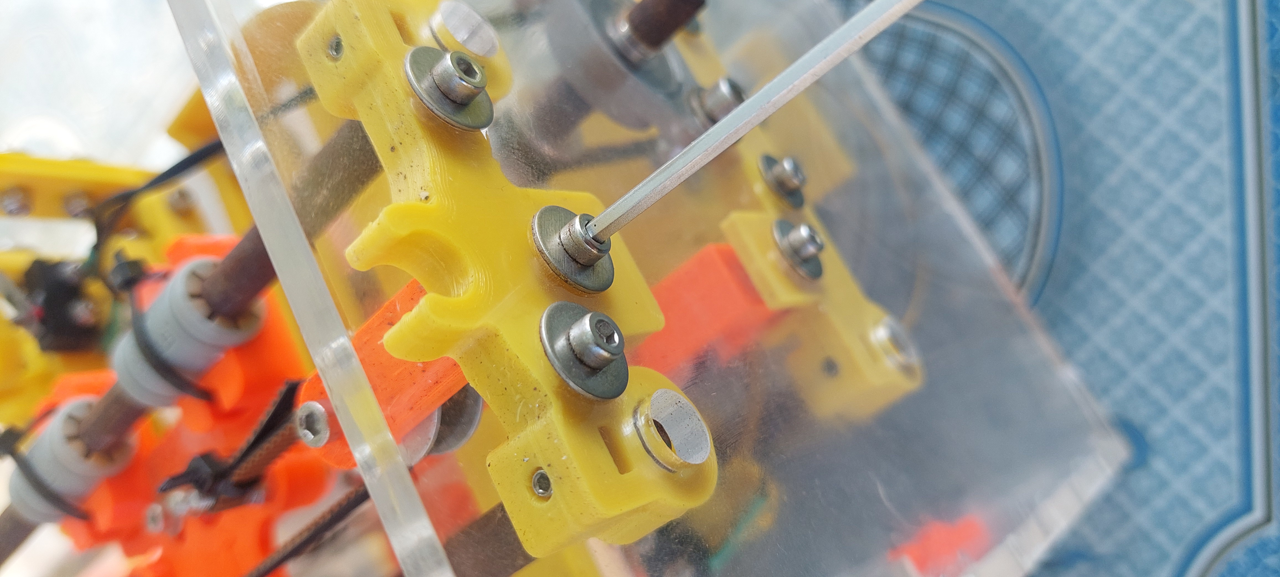
- Loose the belt of the bottom carriage.
- Loose the screws of the top pulley on the motor axis.
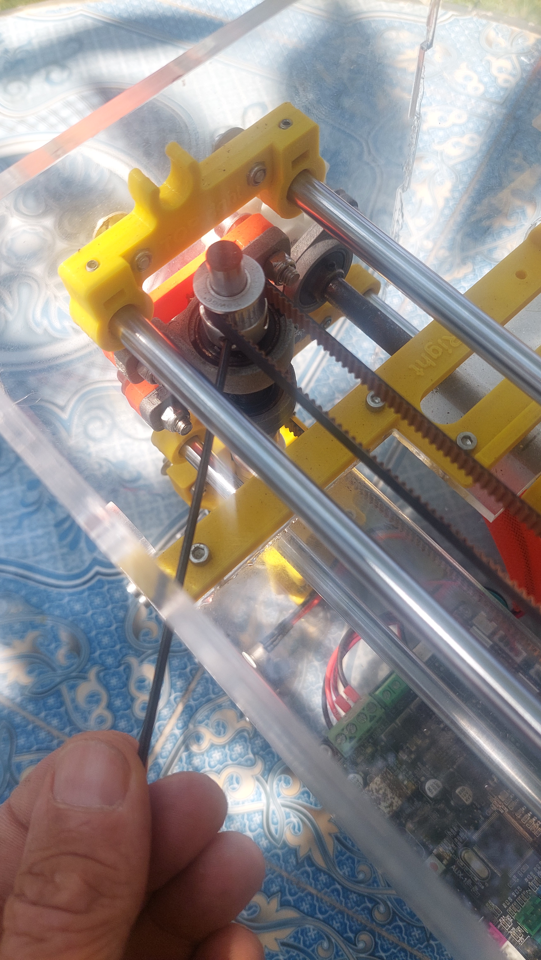
- Loose the screws maintaining the 2 rails for the top carriage.
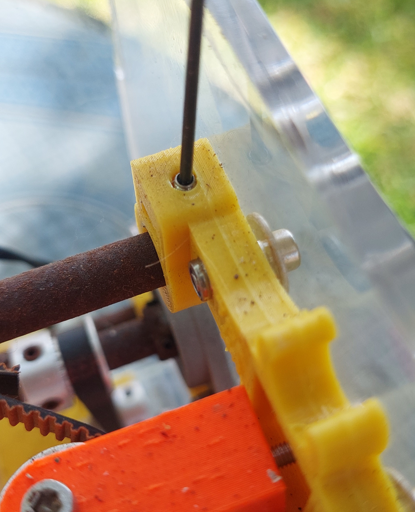
- Extract the top rails by sliding them on a side.
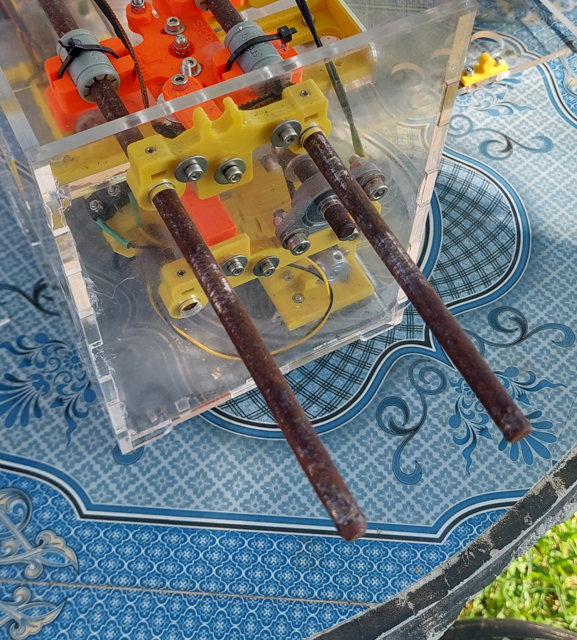
- Loose the screws maintaining the 2 rails for the bottom carriage.
- Loose the screw maintaining the X endstop.
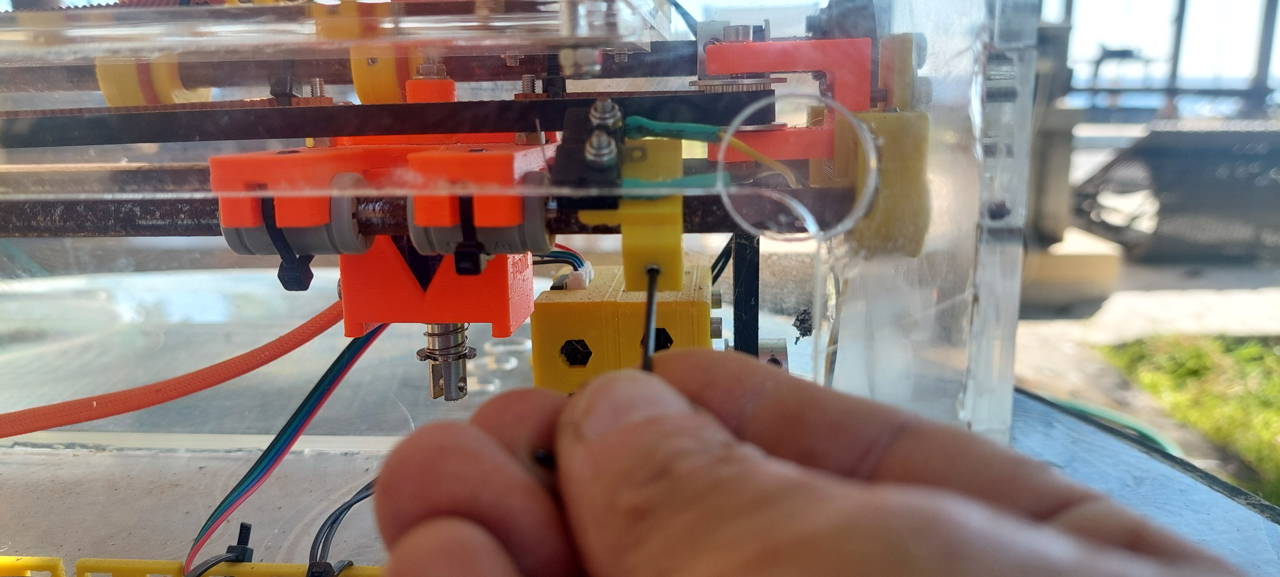
- Extract the bottom rails by sliding them on a side.
- Remove the belt for the top carriage.
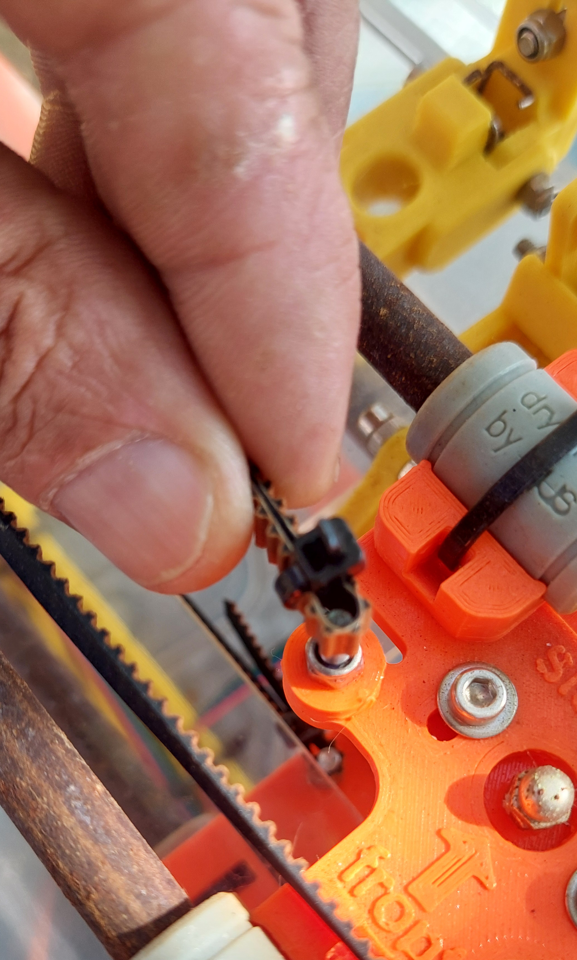
- Remove the belt for the bottom carriage.
To fix the rusted rails we will:
- Cut the zip tie on carriage to remove bushing.
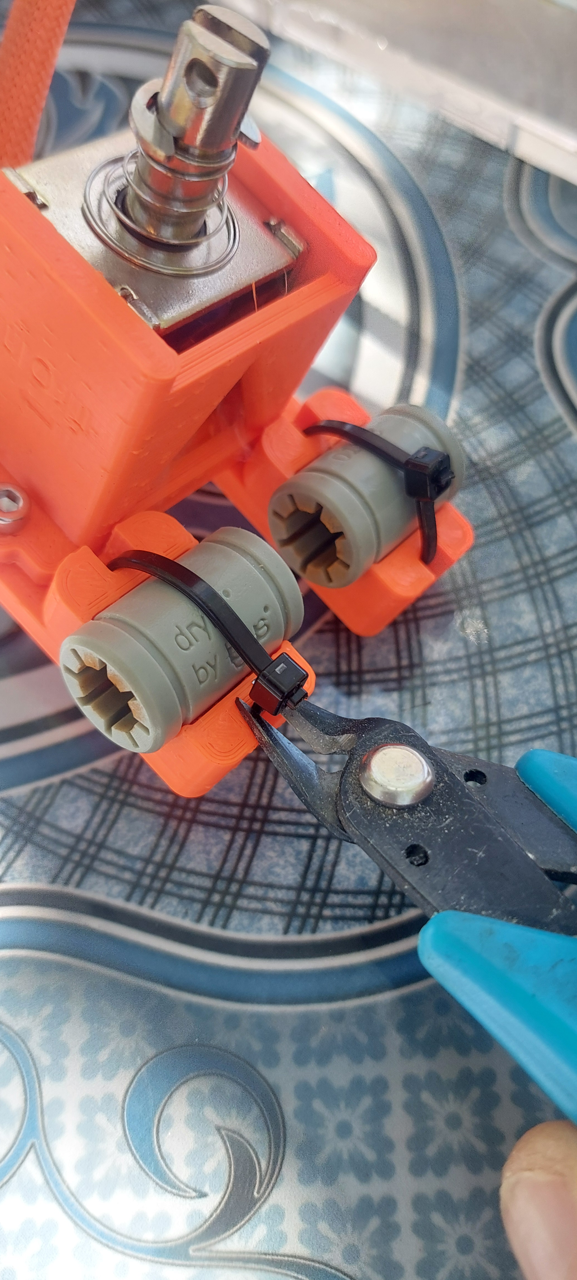
- Replace bushing on the top and bottom carriages (Do not tight the new zip tie).
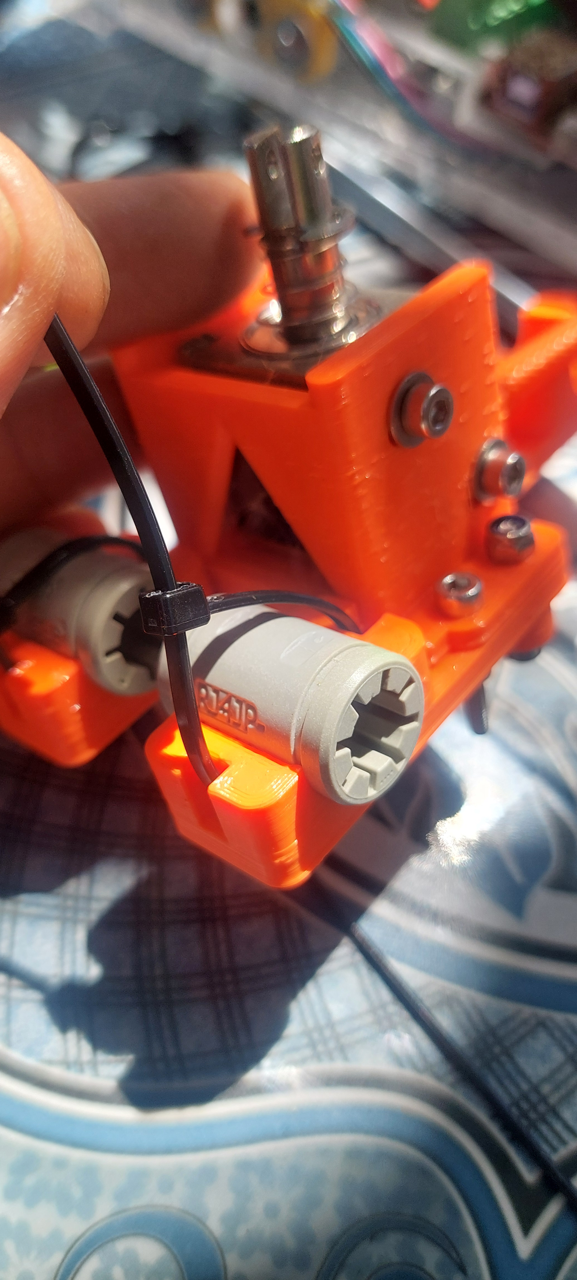
- Attach again the belt of the bottom carriage.
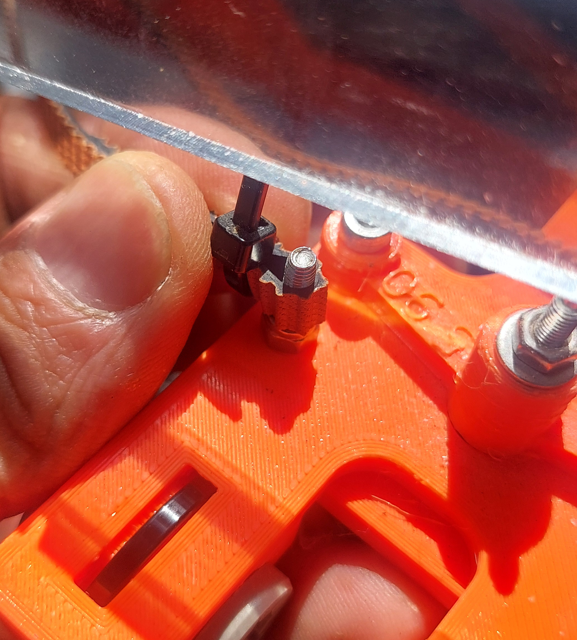
- Attach again the belt of the top carriage.
- Insert the new rails by the side, passing by the new bushings.
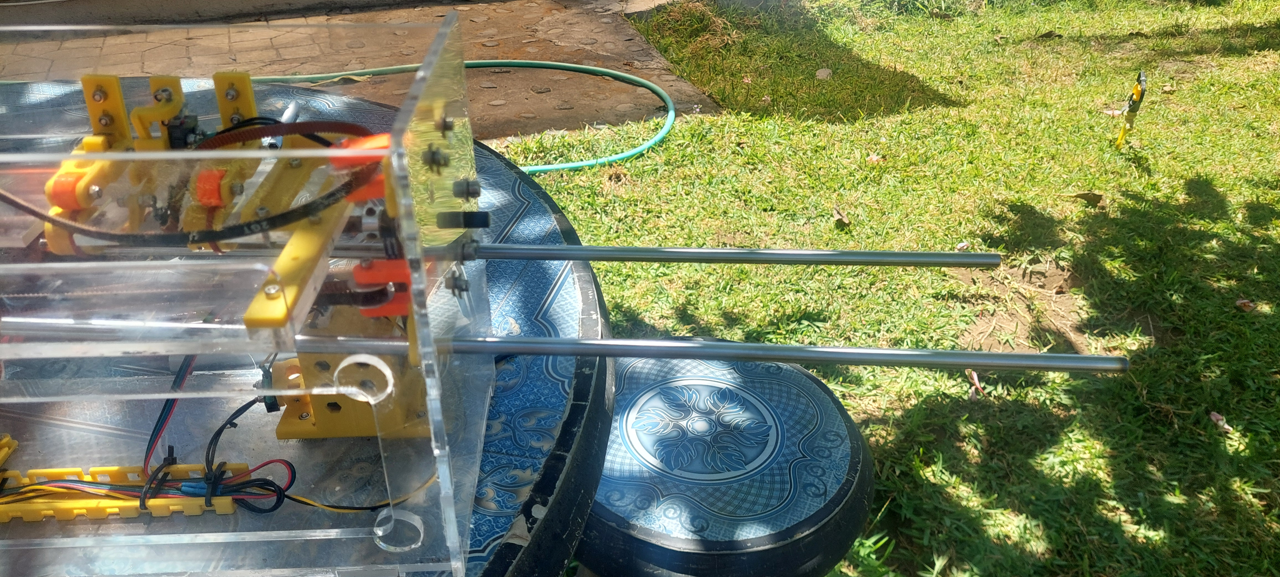
- Set the X endstop on the rails, and slide them in position taking care of belts and wiring. The rails should be on 3d parts only.
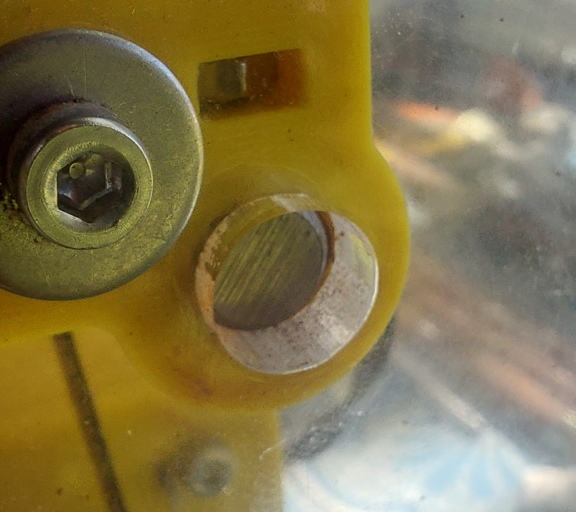
- Tight the screws maintaining the rails.
- Move the carriage from right to left to let the bushing take their place.
- Tight the zip ties gently, and cut the extra length.
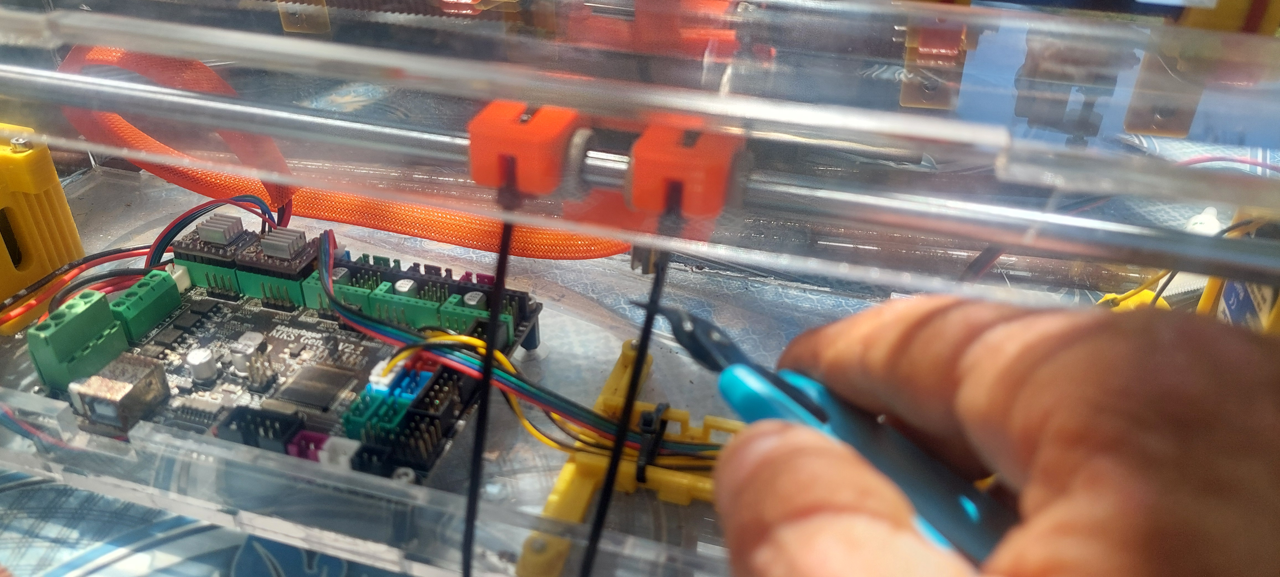
Tight the top and bottom belt with the screws on the side.
Tune again the alignment between the top and bottom carriage (remind to tight the top motor pulley).
Test the BrailleRAP with software TestBrailleRAP
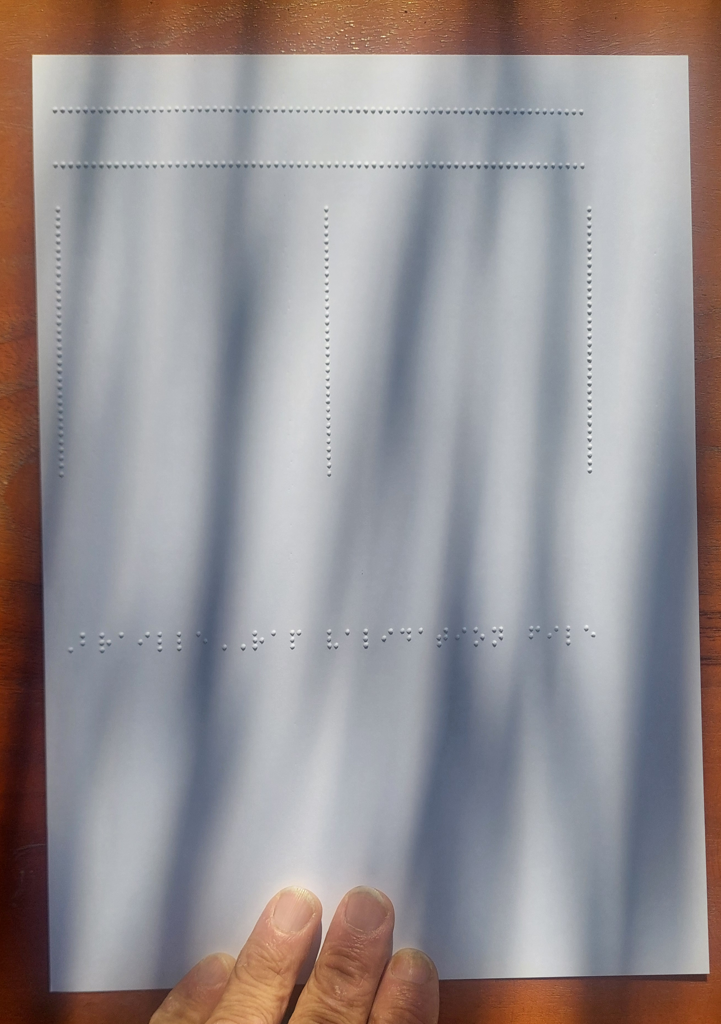
With this test you can check the bottom and top carriage alignment and also check if the two belts are tight enough. Once the BrailleRAP is running again, you can enjoy !
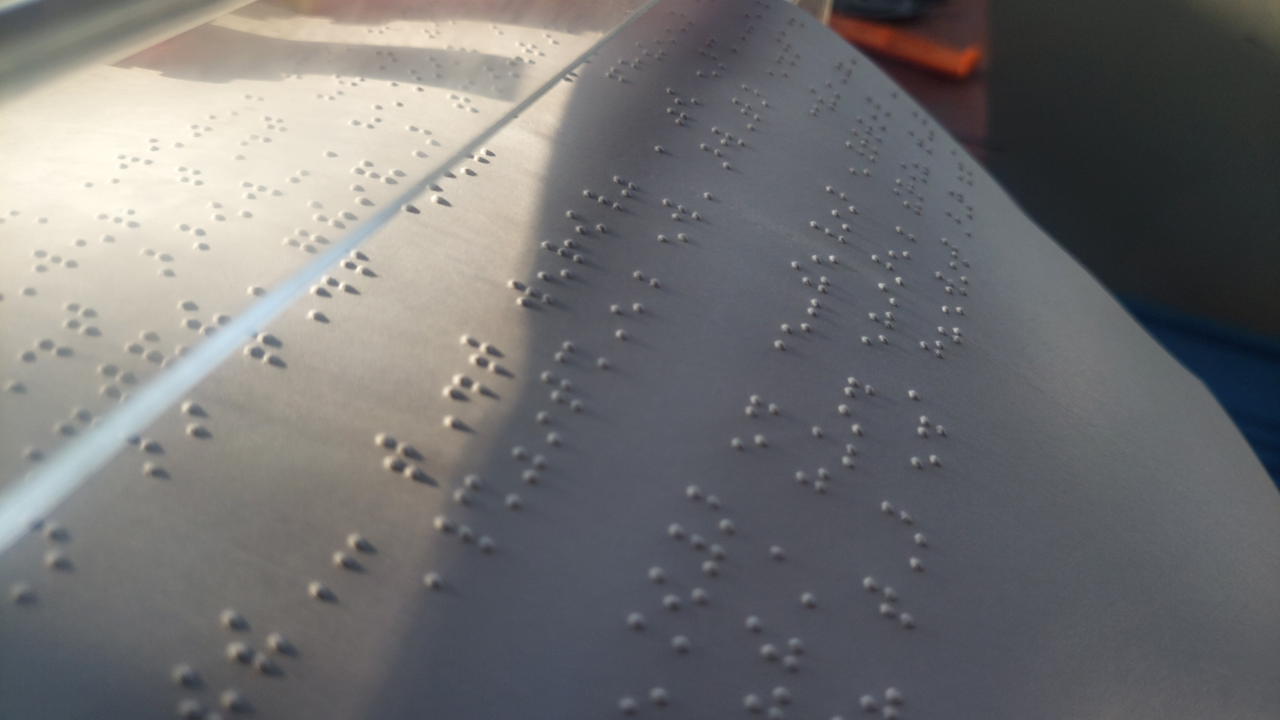
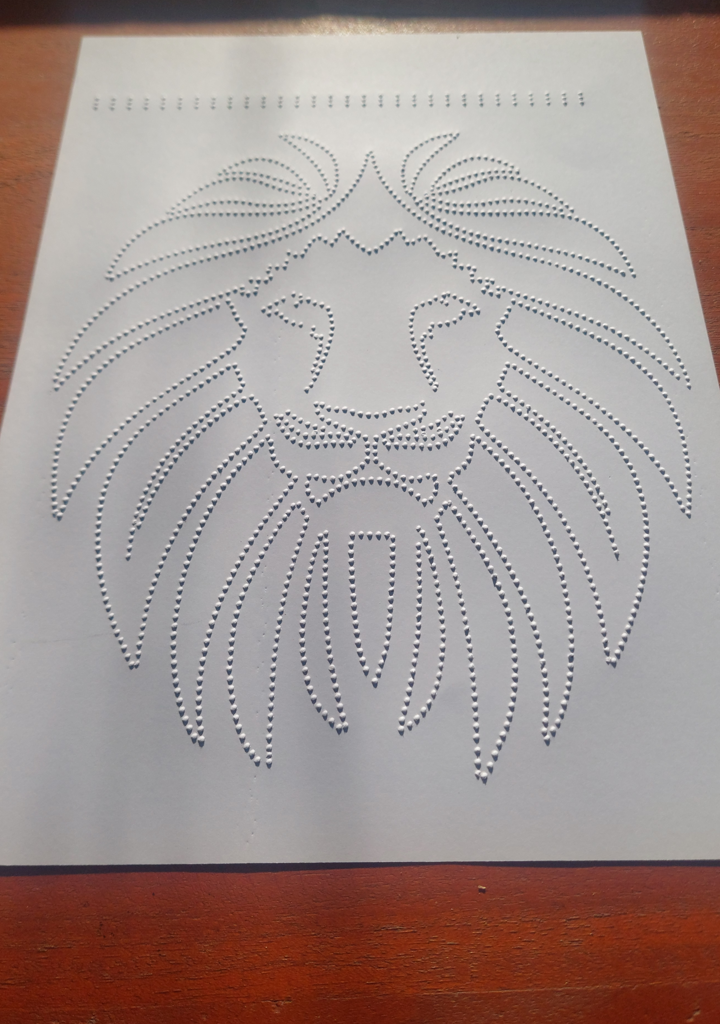
And at the end, you can notice the wonderful aspect of Open Source Hardware. Since the project is documented and mostly DIY, you can fix it. And you can also document how you fix it.