A fidget to talk about Braille
The "Braille Peg Cell"
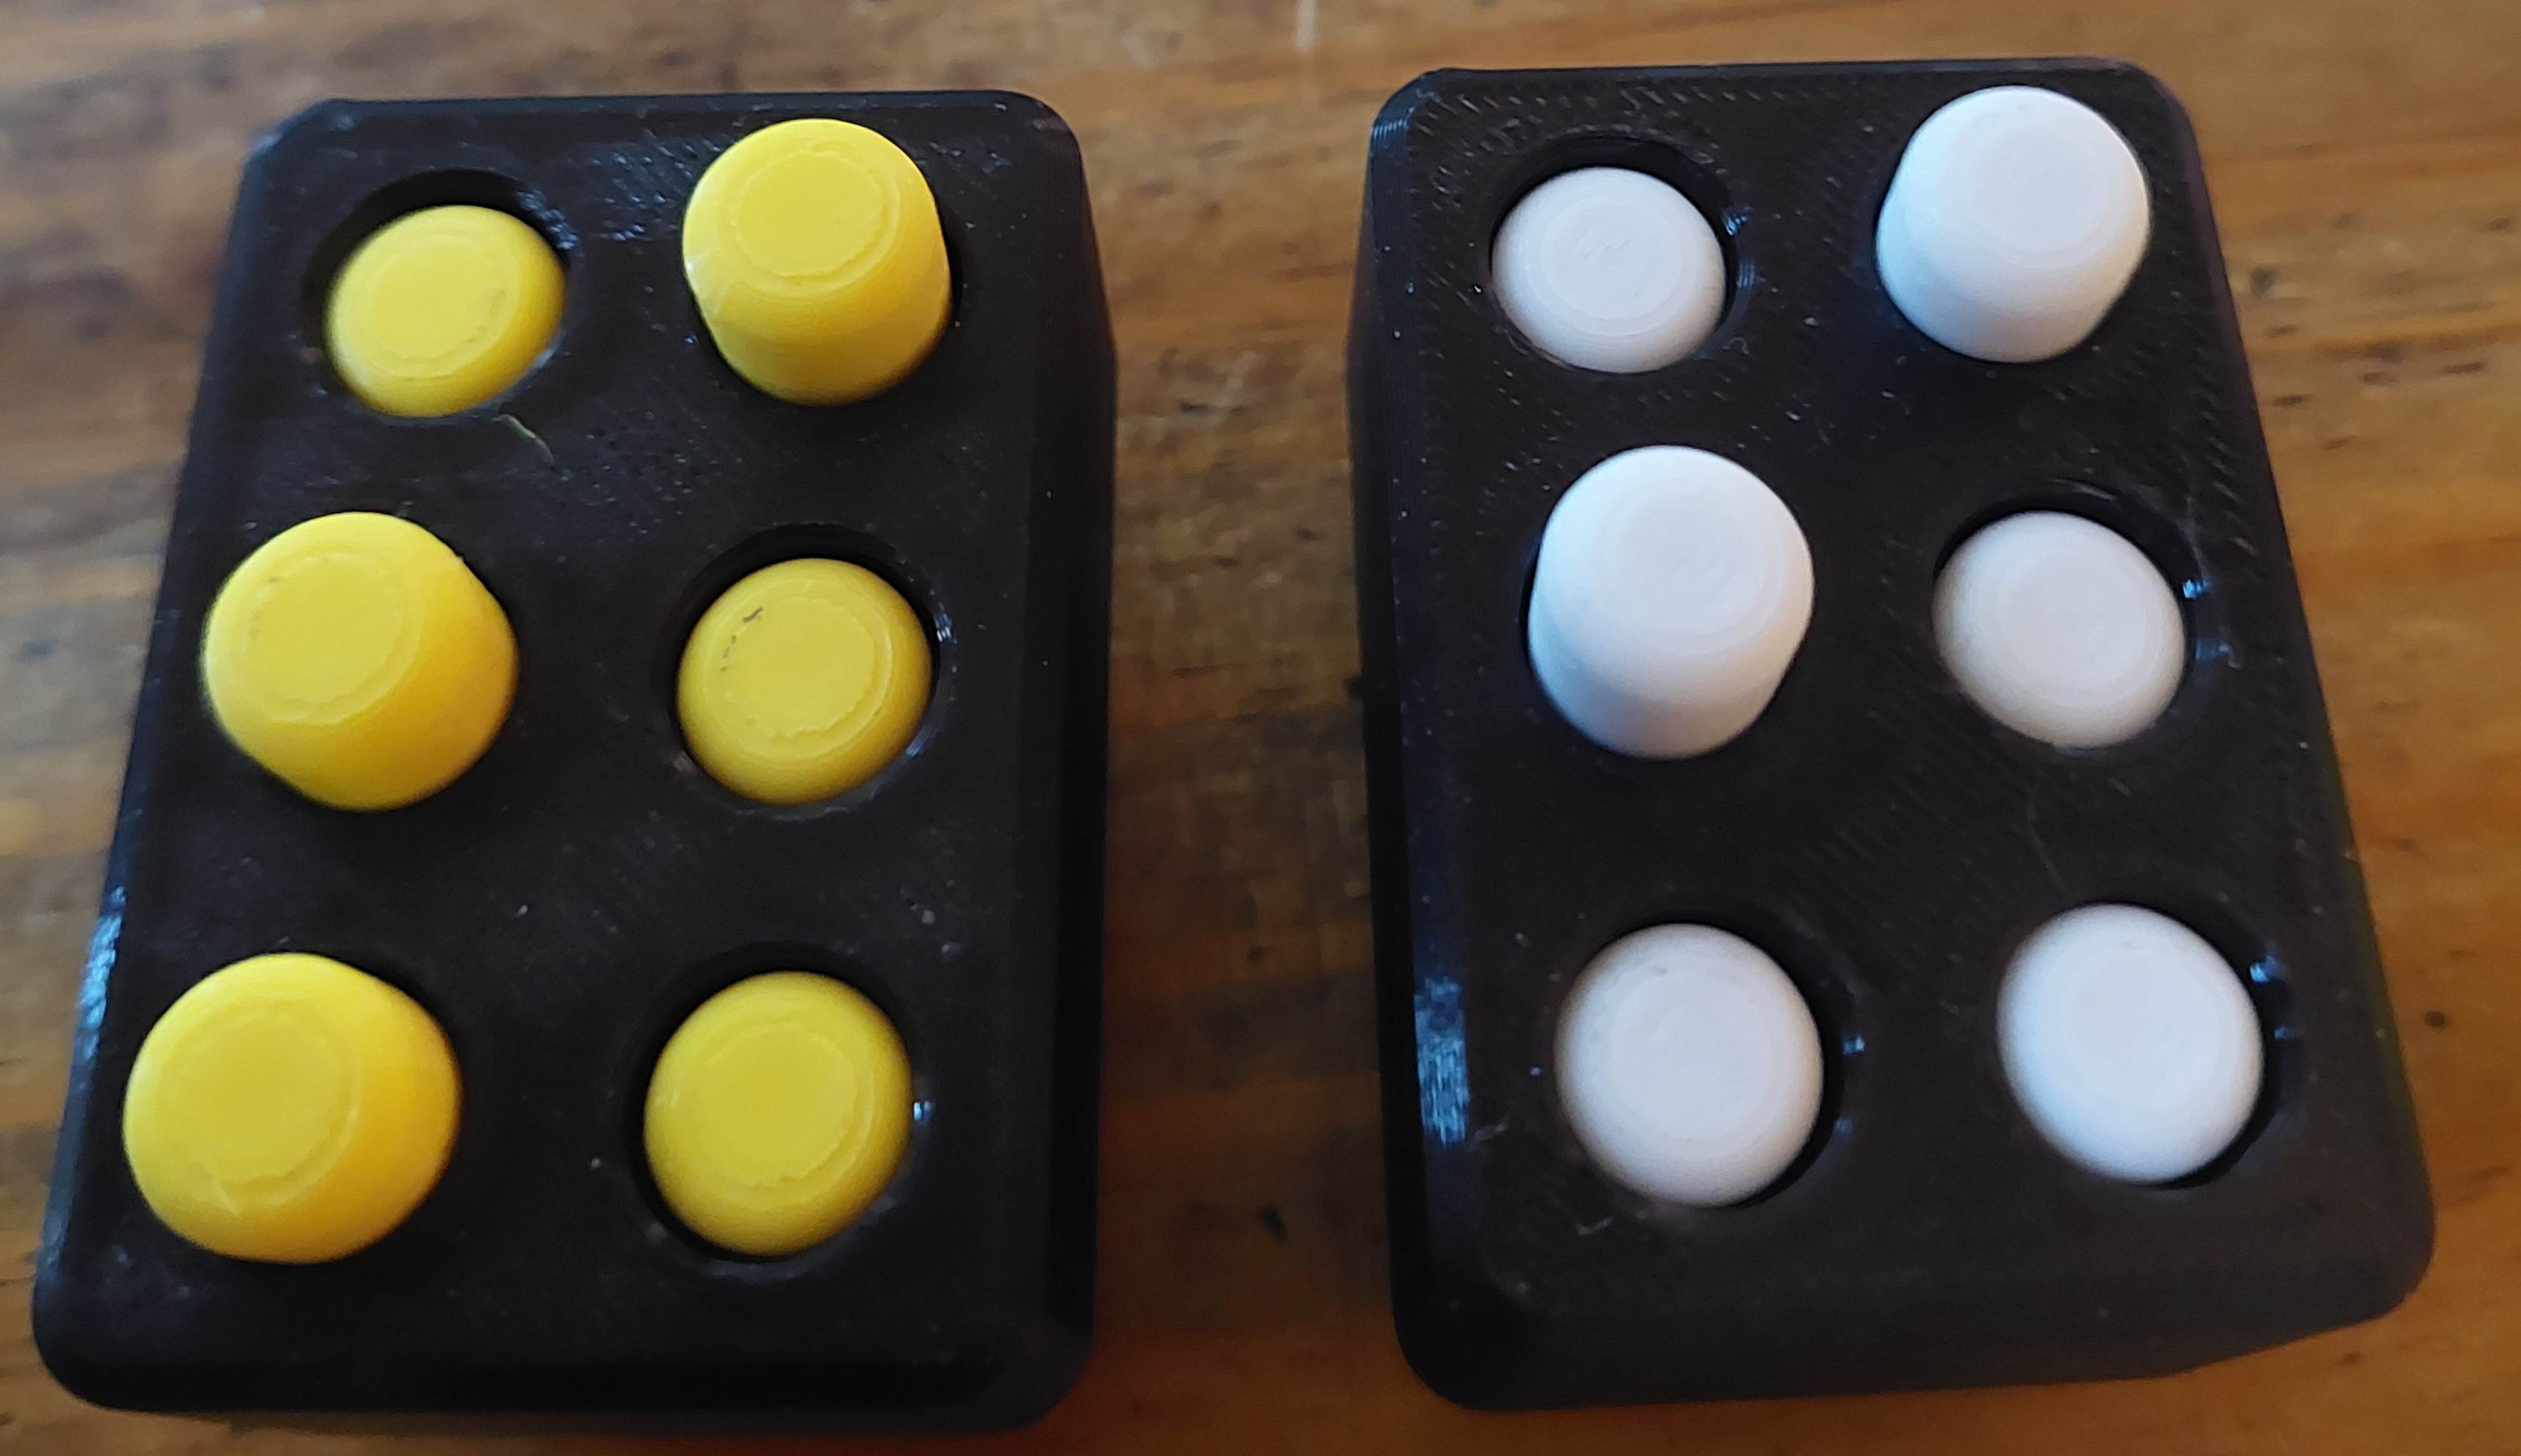 The "Peg Cell" is a small 3d printed objet you can take in hand, on which it is possible to raise or lower 6 small dots. Overall, it's a fidget in the shape of a 6-dot Braille cell, which allows you to create any combination of Braille characters. Obviously, this won't allow you to represent an entire text in Braille. But for explaining the principle of Braille, or using it as an educational tool to learn Braille in a fun and progressive way, it's simply a brilliant and very well-made tool. I tried it with a PETG print, the design is very clever and the whole device is fully printable, so there is no need to source spare parts.
The Braille Peg Cell on Thingiverse
The "Braille cube"
A small cube, slightly larger than a thumb. The cube consists of three plates connected by an M3 screw. These plates can rotate relative to each other. Depending on the position of a plate, you can display 0, 1, or 2 dots. Therefore, with the three plates, you can represent any 6-dot Braille character. An easy upgrade is to add a fourth plate to create 8-dot Braille. The design is simple and effective; the plates are 3D printed. I tested it by printing the plates in PETG with a layer height of 0.12mm, which results in a very smooth and pleasant-to-the-touch object. To assemble the plates, you will need a 20mm M3 screw and an M3 nut. I would recommend a nylock nut to prevent the screw from loosening when handling the plates. With a few additional components, the Braille cube can be transformed into a keychain, making it easy to carry.